Today, I wanted to do something different, something sparkly. I decided to make a tennis chain with a cross pendant. I’ve always liked how these chains look, simple yet classy, and adding a cross just makes it more meaningful to me.
Gathering My Stuff
First, I needed to gather all the materials. I already had some experience with jewelry making, so I had a few things lying around. I went through my boxes and found a roll of thin, silver-colored wire that I thought would be perfect for the chain. I also had a bunch of small, clear crystals that I’ve used in past projects.
For the cross, I found a small, simple silver cross pendant that I bought a while back from a local craft store. I always keep these little trinkets because you never know when they’ll come in handy. I also grabbed my jewelry-making tools – pliers, wire cutters, and a few other bits and bobs.
Starting the Chain
I started with the chain. I measured and cut the wire into several equal pieces. This was a bit tricky because I wanted the chain to be just the right length – not too long, not too short. After a few tries, I got it right. Then, I began attaching the crystals to the wire. I took each crystal and carefully wrapped a small piece of wire around it, making sure it was secure. This part took forever, seriously. Each crystal had to be perfectly in place, or the whole chain would look off.
I used my small pliers to bend the wire, creating loops to hold the crystals. It was slow going, but I put on some music and just got into the zone. After a while, I had a decent length of chain going. It was starting to look like something!
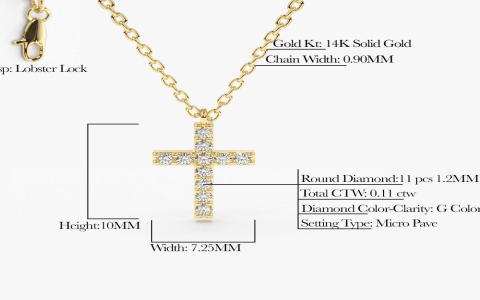
Making the Cross
Next up was the cross. I already had the silver cross pendant, so I just needed to attach it to the chain. I used a jump ring – a small, circular piece of wire – to connect the cross to the chain. I opened the jump ring with my pliers, slipped one end through the loop on the cross and the other end through the last loop on the chain, and then closed it tightly. It was a bit fiddly, but I managed to get it done without too much trouble.
Putting It All Together
With the cross attached, I needed to finish the chain. I continued adding crystals until I reached the desired length. I made sure to check the length every so often by trying it on. Once I was happy with the length, I needed to add a clasp so I could wear it.
I took a small lobster clasp and attached it to one end of the chain using another jump ring. On the other end, I added a slightly larger jump ring to make it easier to fasten the clasp. This part was a bit tricky because the jump rings were so small, but I got it eventually.
The Final Touches
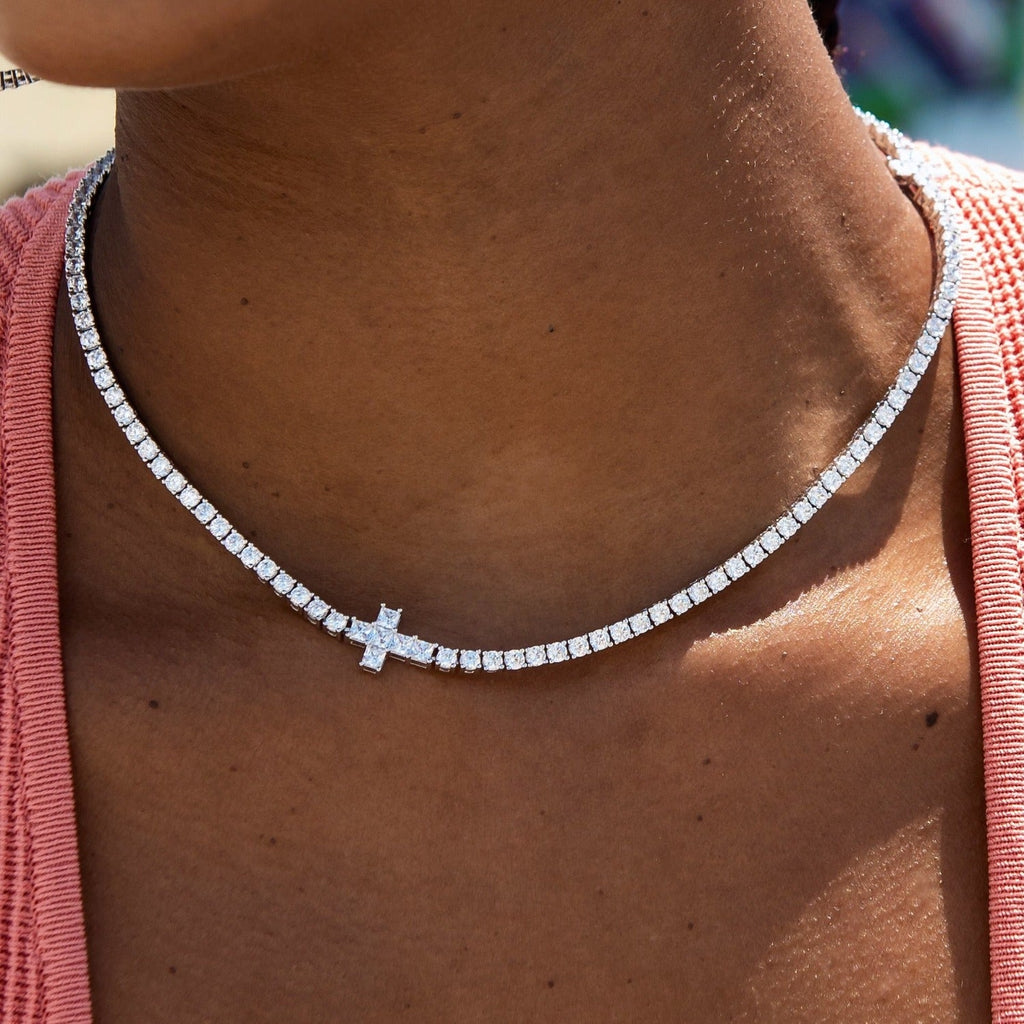
Once everything was assembled, I took a step back to admire my work. The chain was sparkly, and the cross hung nicely in the center. I tried it on, and it fit perfectly. I was pretty proud of myself, not gonna lie. I decided to wear it out to dinner that night, and I got a bunch of compliments. It felt great to tell people that I made it myself.
Here’s a quick rundown of what I used:
- Silver-colored wire
- Clear crystals
- Silver cross pendant
- Jump rings
- Lobster clasp
- Pliers
- Wire cutters
This project was a lot of fun, and it was really satisfying to see the finished product. It’s amazing what you can do with a few simple materials and a bit of patience. I’m definitely going to try making more jewelry in the future. Maybe next time I’ll tackle something even more complicated!