Got obsessed with Art Deco tennis bracelets after seeing a crazy expensive one online. Thought, “Nah, I can make something way more affordable that still looks fancy.” Goal was simple elegance – those clean lines, geometric vibes, but without costing a fortune. Grabbed my sketchbook first.
The Frustrating Planning Phase
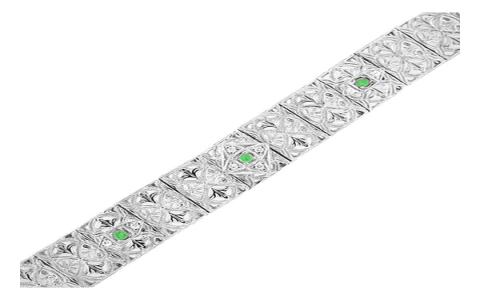
Started roughing out designs. Wanted that classic tennis bracelet chain vibe, but with sharp Art Deco cuts on the stones and a strong setting. Messed up a few pages trying to blend the flowy chain with those rigid shapes. Figured out I needed smaller geometric links connecting each stone. Pulled out my box of tiny cubic zirconia stones – wanted that classic white sparkle first.
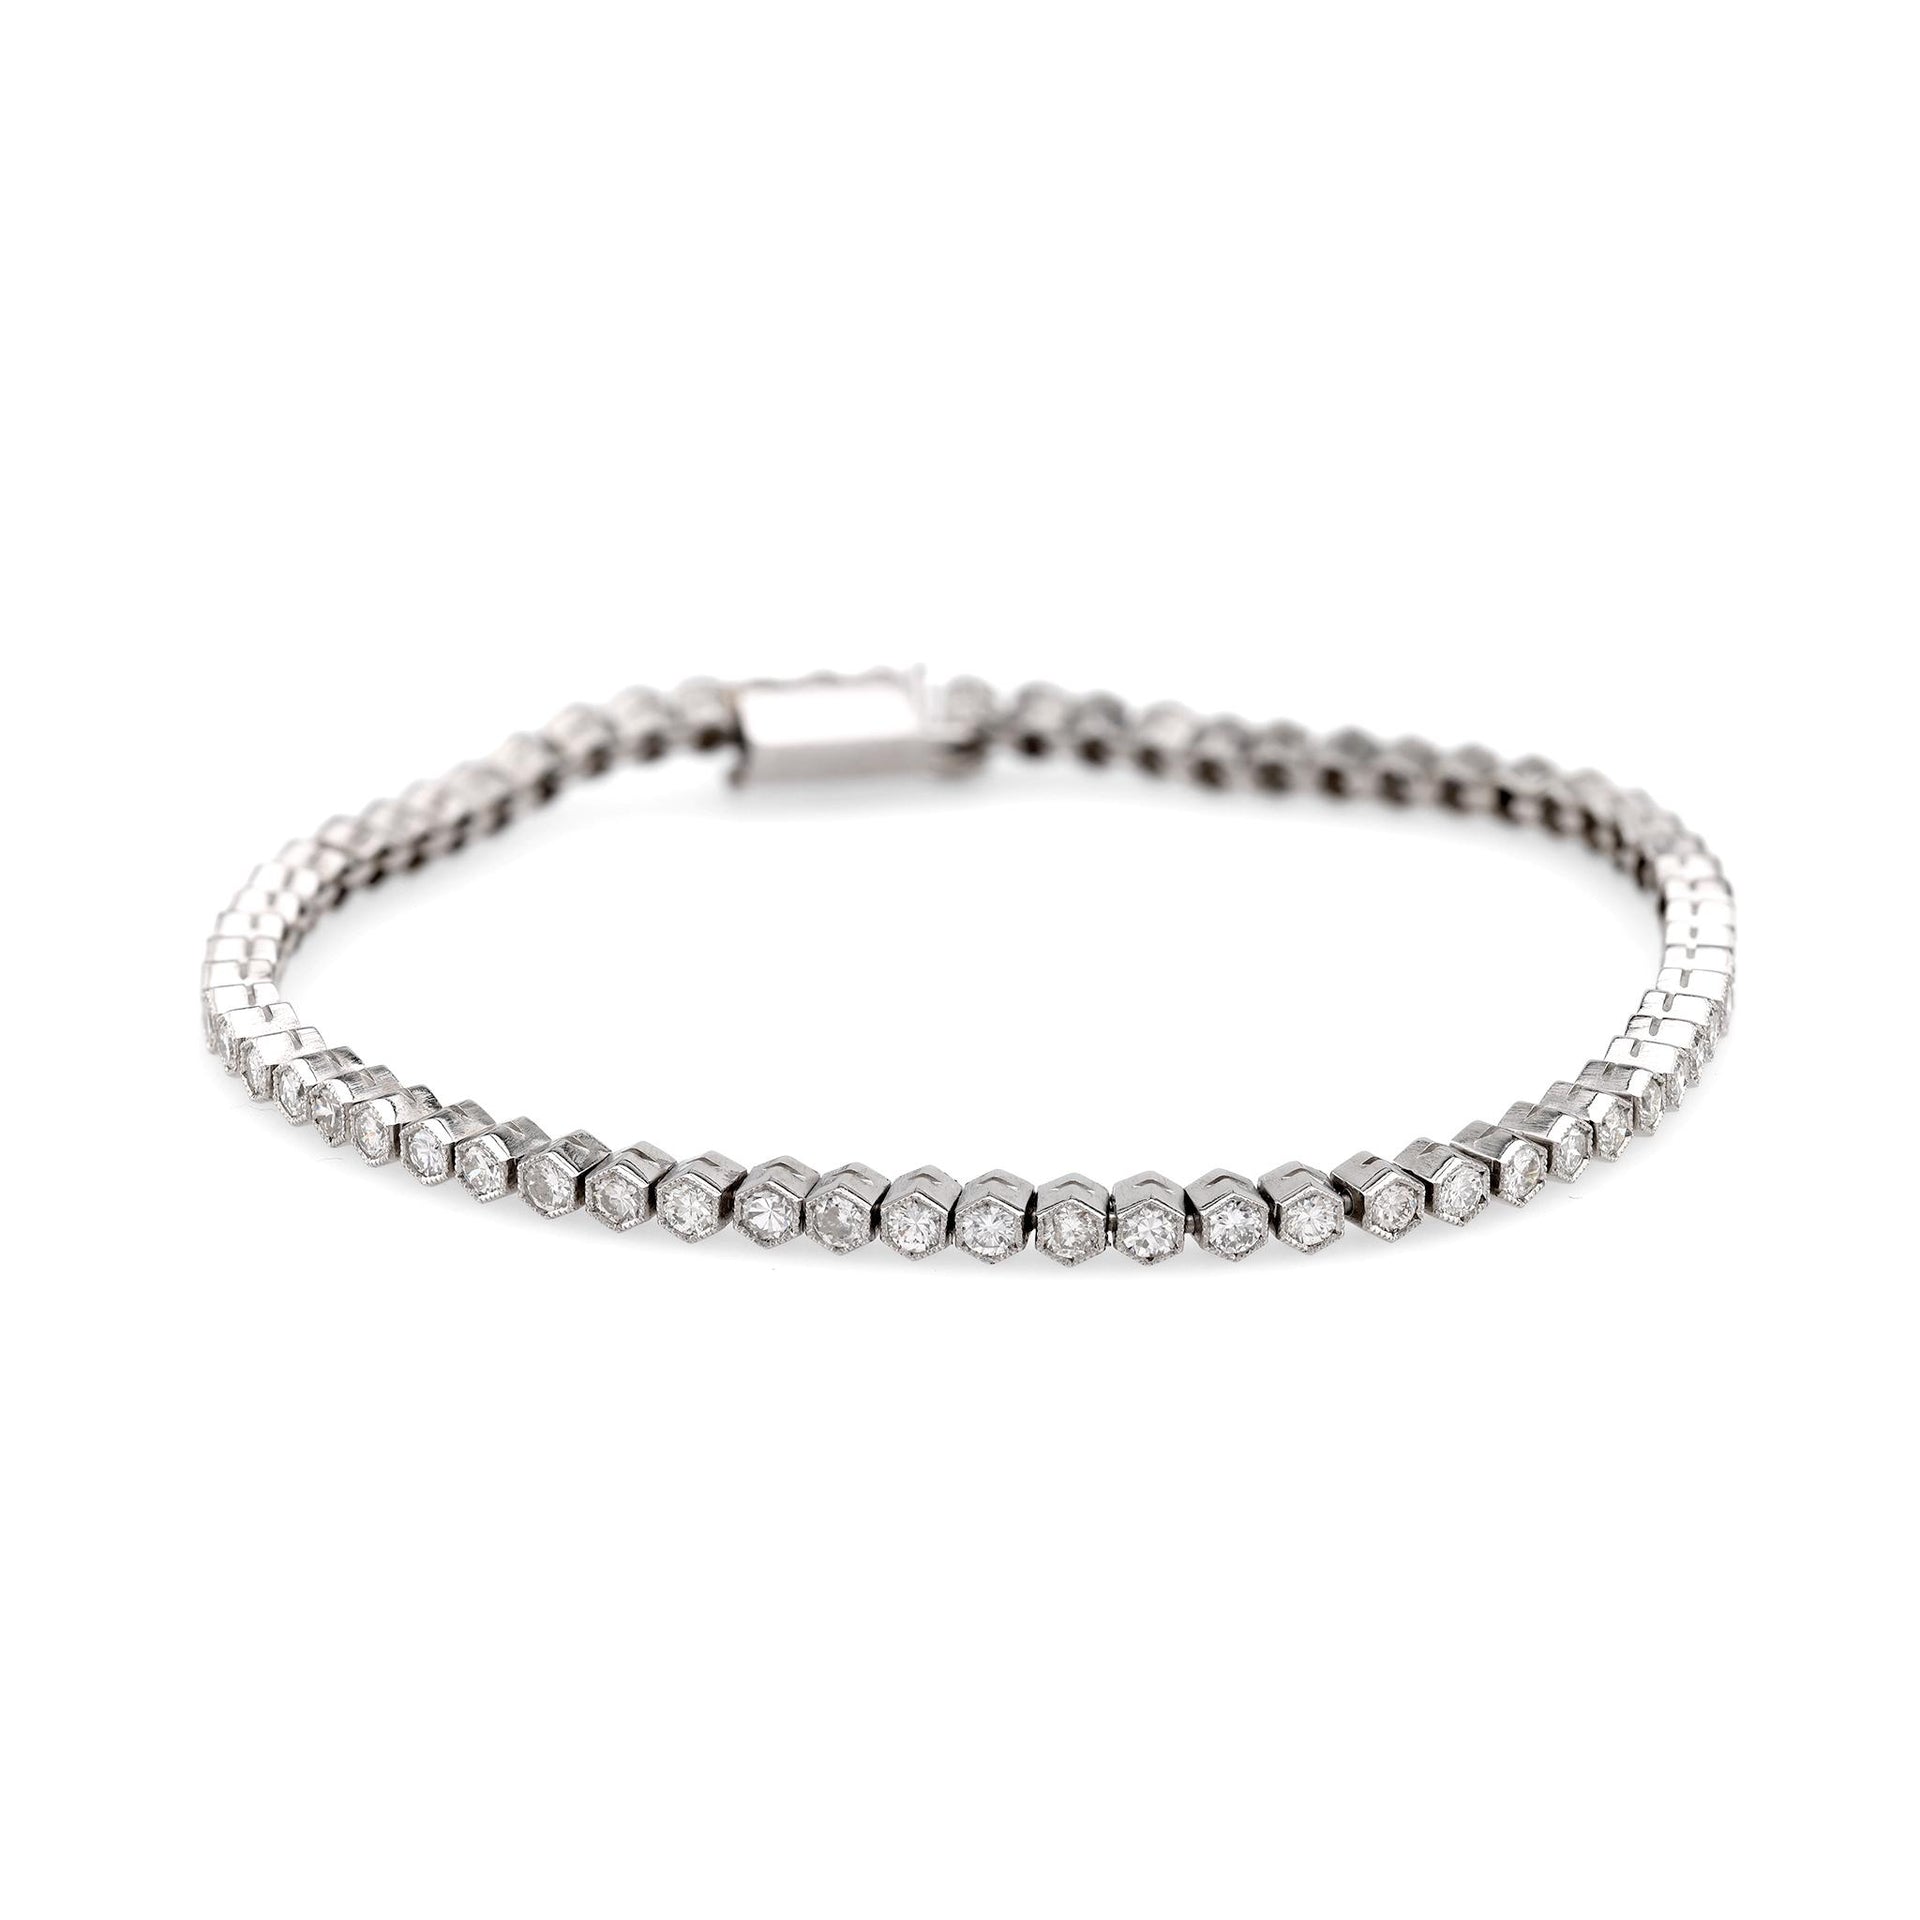
Decision time: silver or gold? Wanted both options eventually ’cause different folks like different metals. For silver, grabbed my usual 925 sterling silver wire and sheet. For gold, went with decent 14k gold-filled wire and sheet this time – solid gold for the whole thing would’ve killed my budget. Assembled tools: torch, small pliers, files, tweezers, solder, flux. Checked my stone settings were the right size for my CZ stash.
Getting Hands Dirty (And Burnt)
Started with the silver version. Cut a bunch of small links from the wire for the chain sections. Soldering those tiny suckers together without melting them was a nightmare – messed up five links before finding the right torch heat. Had a “why is this taking 3 hours?!” moment.
Next headache: forming the bezel settings for the stones from silver sheet. Cut strips carefully, soldered them into little cups – had to hammer them square later for the Deco look. This part looked wonky as hell initially. Filed them smooth until my fingers ached. Then tried setting stones. Pushed too hard, cracked one. Learned to go slow.
Connecting those little geometric settings to the chain links? Pure frustration. Needed super tiny jump rings. Making those was fiddly. Soldering them without closing the ring took deep breaths and prayer. Attached them to the settings first. Then came the tricky part: linking those to the chain sections while keeping everything square. Dropped everything twice. Managed to solder all connections solid – strength mattered most here for a bracelet.
Polishing The Ugly Mess
First assembly looked lumpy. Solder blobs everywhere. Took hours with tiny files and sandpaper – 220 grit all the way to 1500 grit. Then buffing. Tried it on. Hung okay but felt stiff. Realized I’d gone overboard – chain links were too small, straining the connections. Fixed one section to test – slightly larger links. Better drape. Redid the whole chain. Annoying but necessary.
Gold Do-Over & Lessons
For the gold one, same exact steps… just more expensive mistakes. Worked slower. Learned that gold solder flows differently. Melted two settings instantly. Adjusted torch heat way down. Finally got into rhythm. Same polishing pain, same sanding grits.
End results? Actually pretty damn nice. Simple chain but the little geometric holders give that sharp Art Deco feel without shouting. Strong solder holds each stone securely. Both metals ended up costing way more time than money. Key takeaways? Patience with tiny soldering is non-negotiable. Test the drape early. And for true Simple Elegance, sometimes less detail in the chain is better – let the stone settings pop.