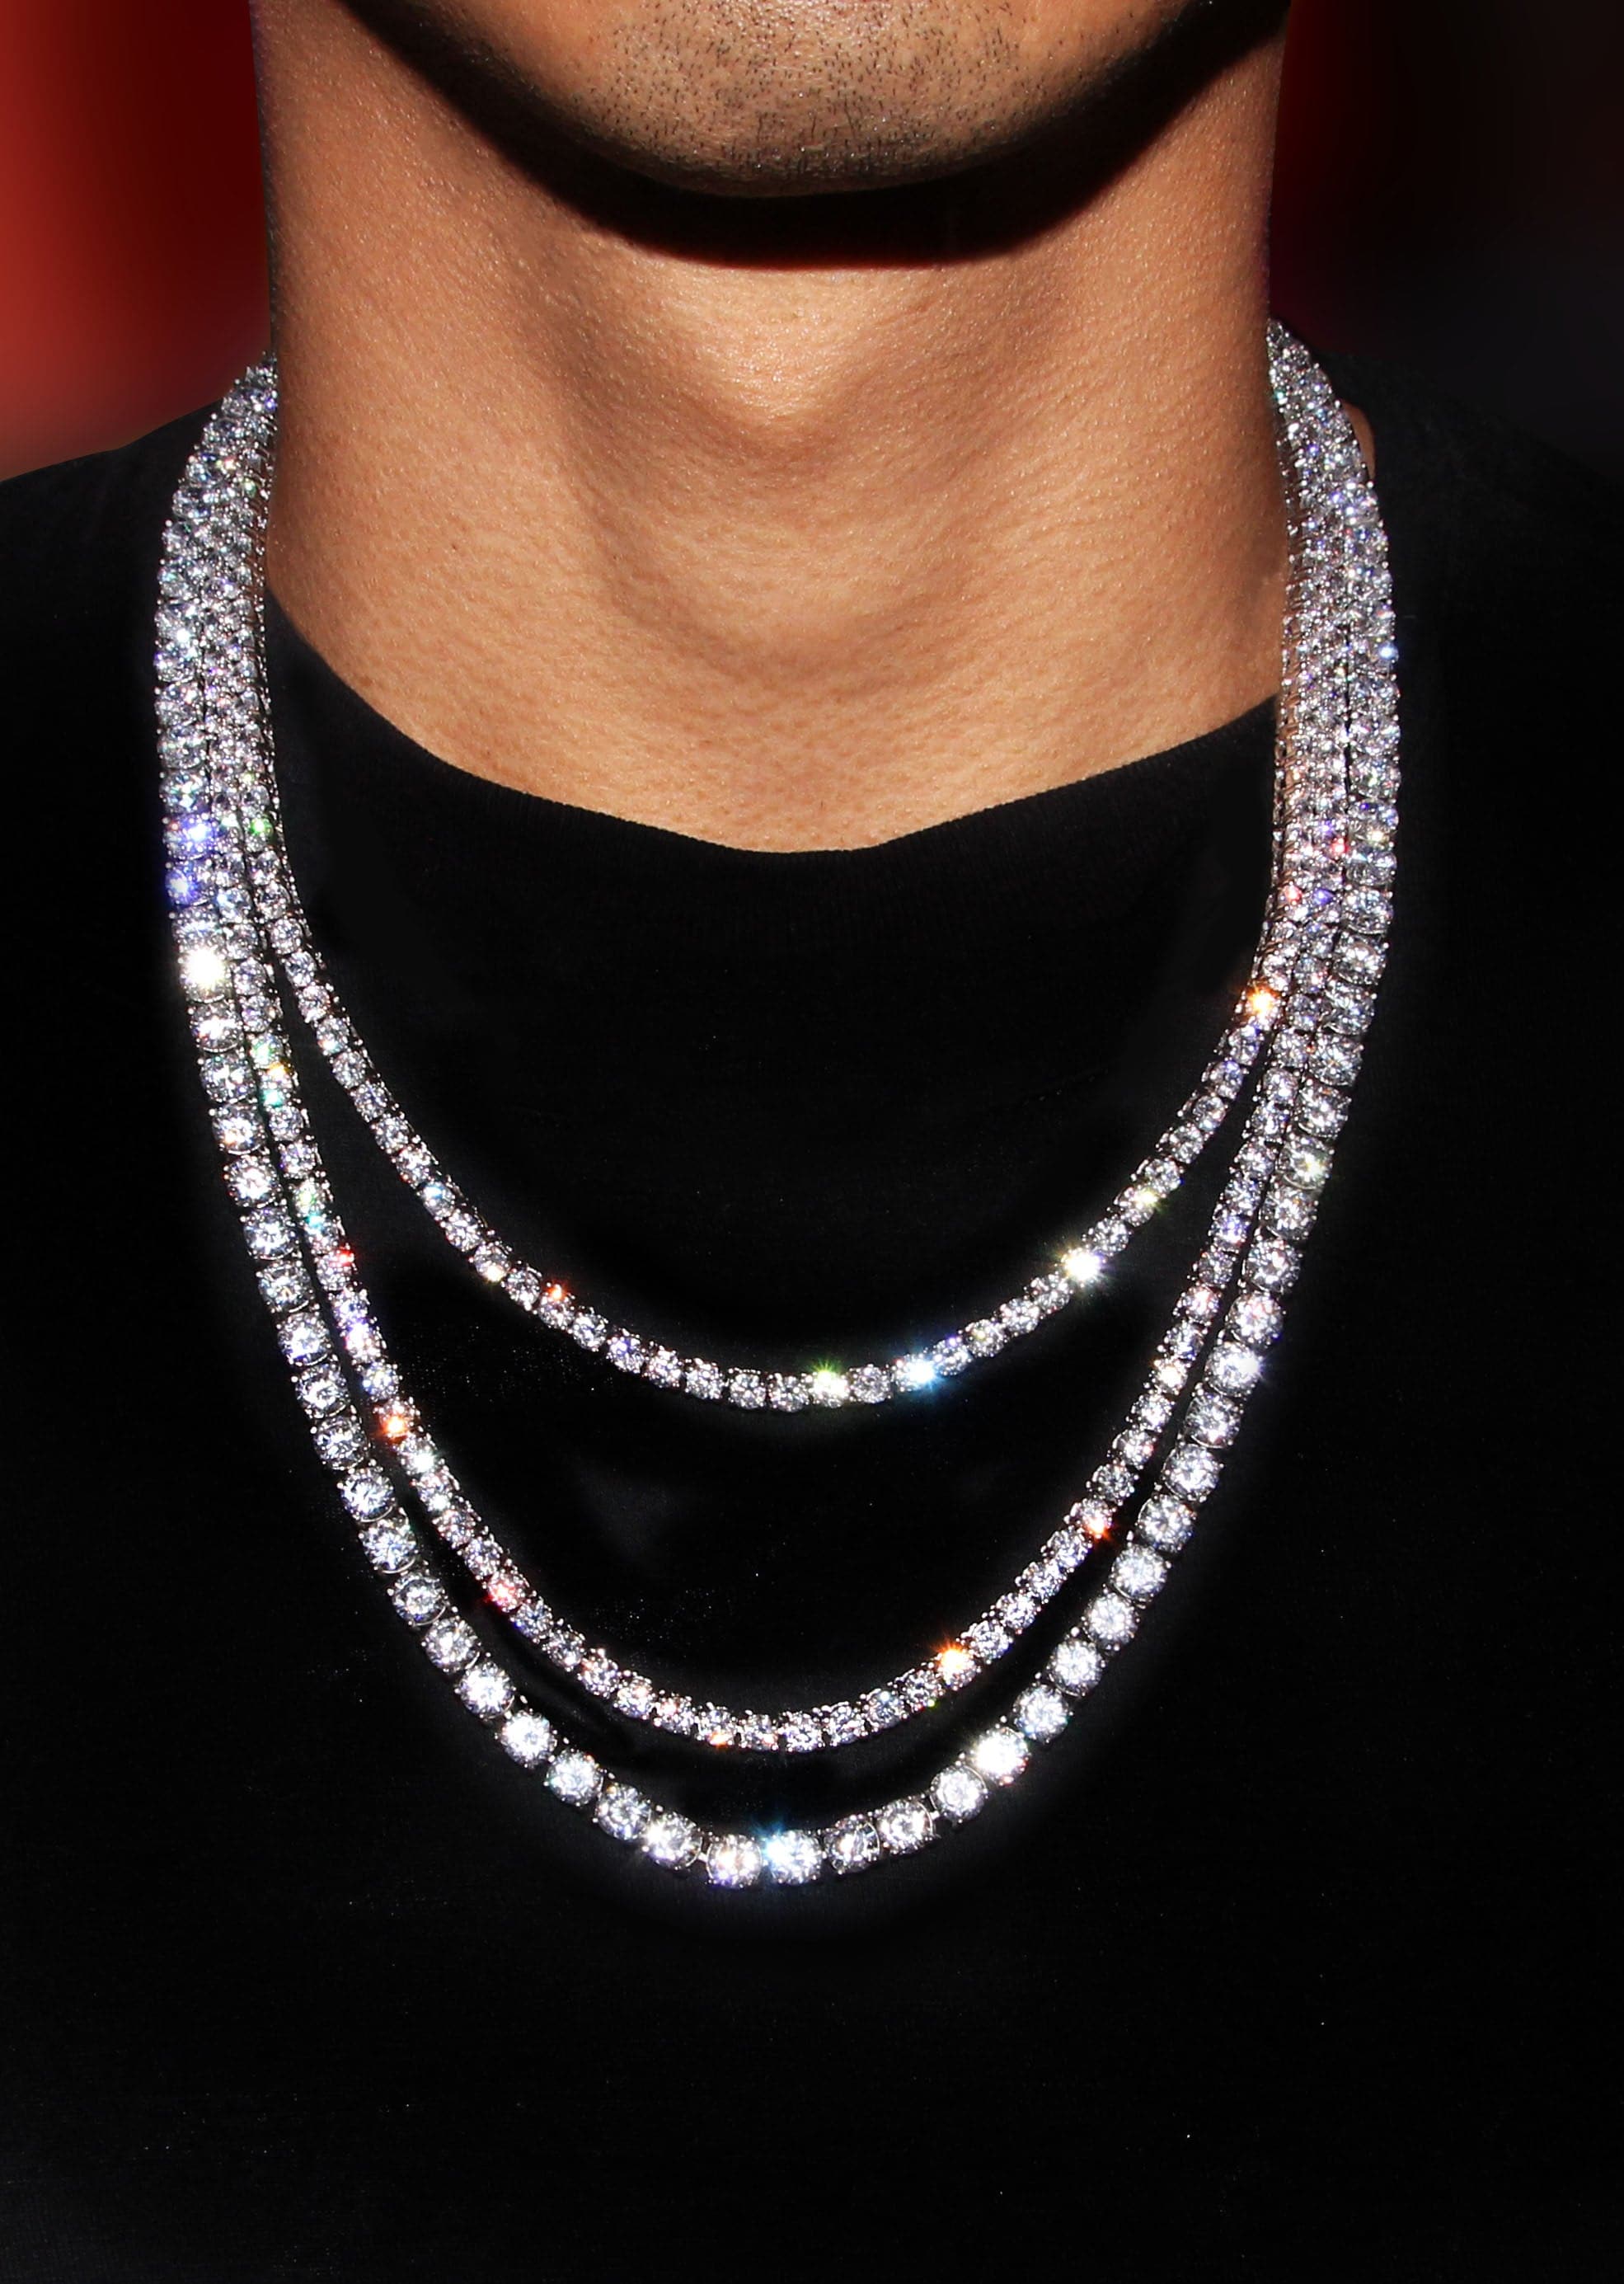
Okay, so I’ve been seeing these layered tennis necklaces everywhere and I finally decided to make my own. I’m not gonna lie, it took a little trial and error, but I figured it out and I’m here to spill the tea.
Getting Started
First, I gathered all my materials. This is what I used:
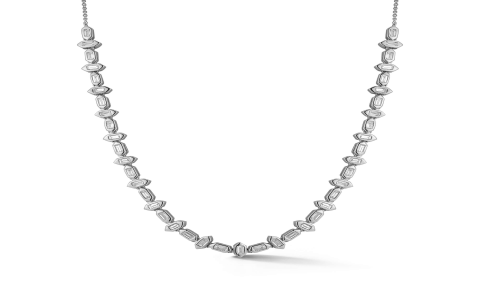
- Some sparkly chain – I went with two different styles for that layered look.
- Jump rings – lots of them!
- Lobster clasps – one for each necklace.
- Pliers – you’ll need two pairs, one for holding and one for bending.
- A ruler or measuring tape.
The Messy Middle Part
Next, I measured out how long I wanted each necklace to be. I wanted one to sit higher like a choker, and the other to hang a little lower. I cut the chains to the right lengths, making sure to account for the clasps.
This is where it got a little tricky. I opened up a jump ring with my pliers and attached it to one end of the shorter chain. Then, I attached a lobster clasp to the same jump ring. I closed the jump ring tightly – this is super important so your necklace doesn’t fall apart!
I repeated that process on the other end of the chain, but this time I just attached a jump ring – no clasp needed on this side. I did the same thing for the longer chain.
Putting it All Together
I layed out the two necklaces * I attached both necklaces to the jumpring and clasps. I wanted to make sure every clasp is on the same side.
And that’s it! Seriously, that’s all there is to it. I put on my new layered tennis necklace and felt super fancy. It’s definitely a statement piece, and I love that I made it myself.