So, I’d been seeing these turquoise tennis necklaces popping up here and there. You know the kind, delicate, but with that nice pop of blue. And every time I looked at the price tag, I just had to laugh. Seriously, some of them cost a small fortune, and honestly, a lot of them didn’t even look like they were made with decent quality stuff. It got me thinking, as it usually does, “I could probably make that myself.”
The Hunt for the Goods
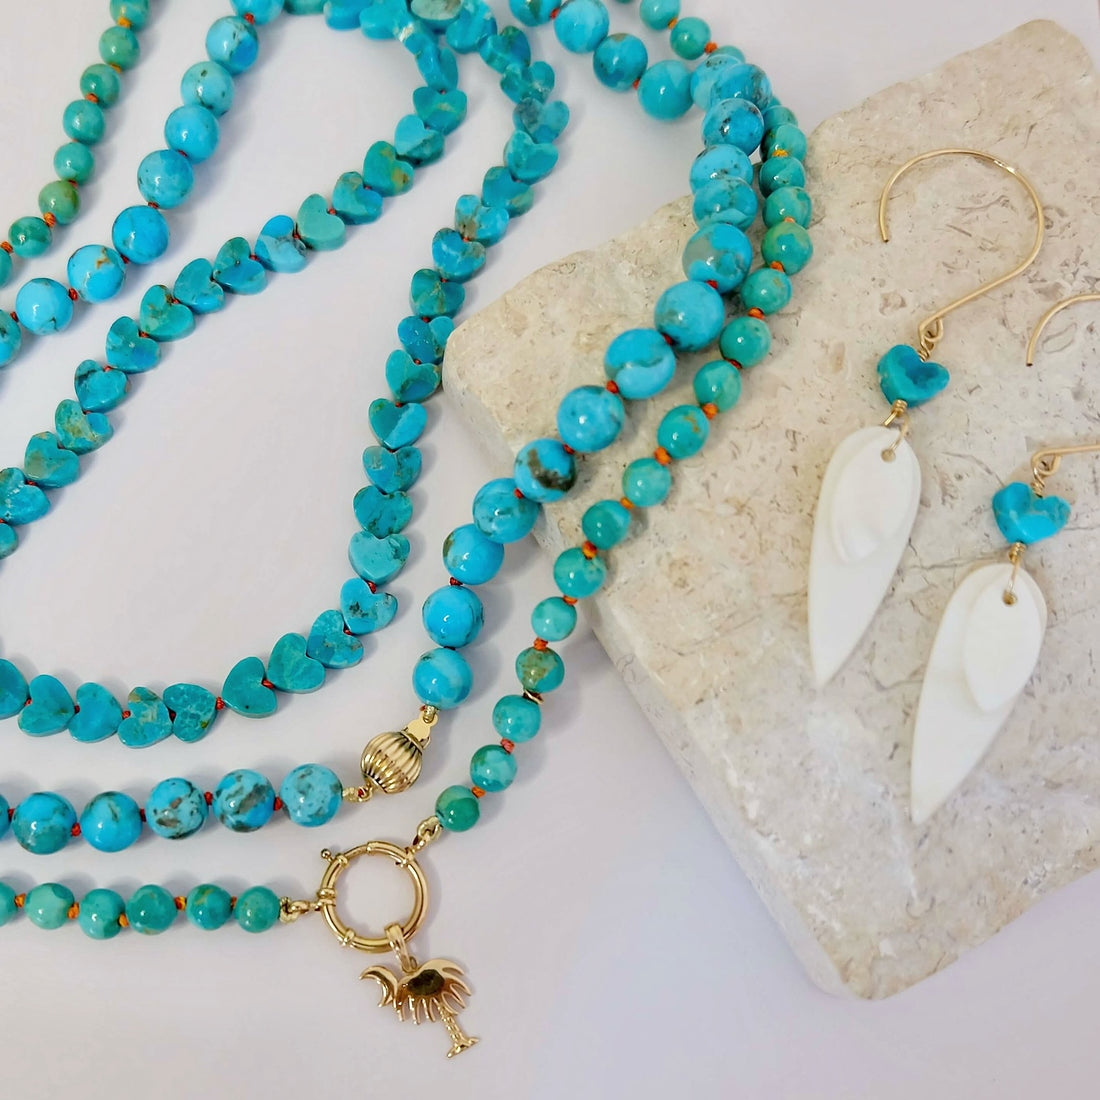
I remembered I had this little stash of turquoise beads. Tiny little things, roundish, that I picked up ages ago at some gem fair. They’d just been sitting in a box, waiting for their moment. So, I dug them out. Perfect. Way better than whatever mass-produced beads they use in those expensive ones, I figured. Then it was a matter of finding the other bits and pieces. I needed some decent stringing wire – not that flimsy thread that snaps if you look at it wrong – and a clasp. Oh, and my trusty old jewelry pliers and cutters, of course. Can’t do much without those.
- Turquoise beads: The star of the show, obviously. Spent a good hour just sorting through them, picking out the ones with the best color.
- Beading wire: Went for a sturdy but flexible one.
- A silver clasp: Nothing too fancy, just something secure.
- Crimp beads: Essential for finishing it off neatly.
Getting My Hands Dirty
Alright, so I laid out all my chosen beads on my work mat. It’s always a good idea to kind of arrange them first, see how they look, figure out the length. I wasn’t going for anything super long, just something that would sit nicely around the collarbone. Then, the stringing began. One by one. It’s a bit meditative, you know? Just focusing on getting each bead on the wire. My cat, bless her heart, decided this was the most fascinating thing she’d ever seen and tried to “help” by batting at the beads. Yeah, that added a bit of extra time to the process, chasing rogue beads under the sofa.
The Clasp Conundrum
Stringing is the easy part, really. The real test of patience, for me anyway, is always the clasp. Getting those tiny crimp beads squashed just right, making sure the clasp is on securely without a huge gap, but also not so tight that it can’t move… man, that took a few tries. My fingers felt like sausages trying to work with those tiny components. There was a bit of muttering under my breath, I won’t lie. But eventually, click! It was on. And it looked pretty darn good, if I do say so myself.
The Moment of Truth
So, I held it up. Not bad, not bad at all. I clipped it on and took a look in the mirror. You know what? I loved it. It wasn’t “perfect” in that sterile, machine-made way. You could tell someone actually made it. And the turquoise! The color was just so much richer than a lot of the stuff I’d seen in stores. It felt good. There’s something about wearing jewelry you’ve made yourself. It’s not just an accessory; it’s a little piece of your time, your effort.
It’s funny, isn’t it? You see something, you think “I want that,” but then you look closer and it’s just… lacking. Soulless, almost. Making it yourself, even if it’s not absolutely flawless, it just has more character. Plus, I know exactly what went into this. No mystery materials. And every time I wear it, I’ll remember that afternoon, wrestling with the clasp, with the cat trying to “supervise.” Way better than just handing over a credit card, if you ask me. This one’s got a bit of a story already.