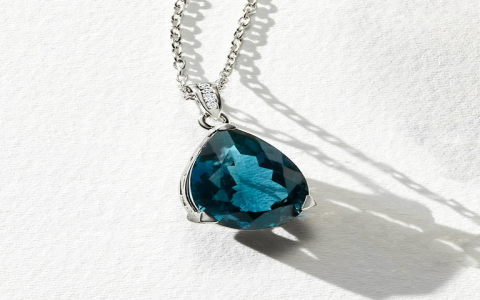
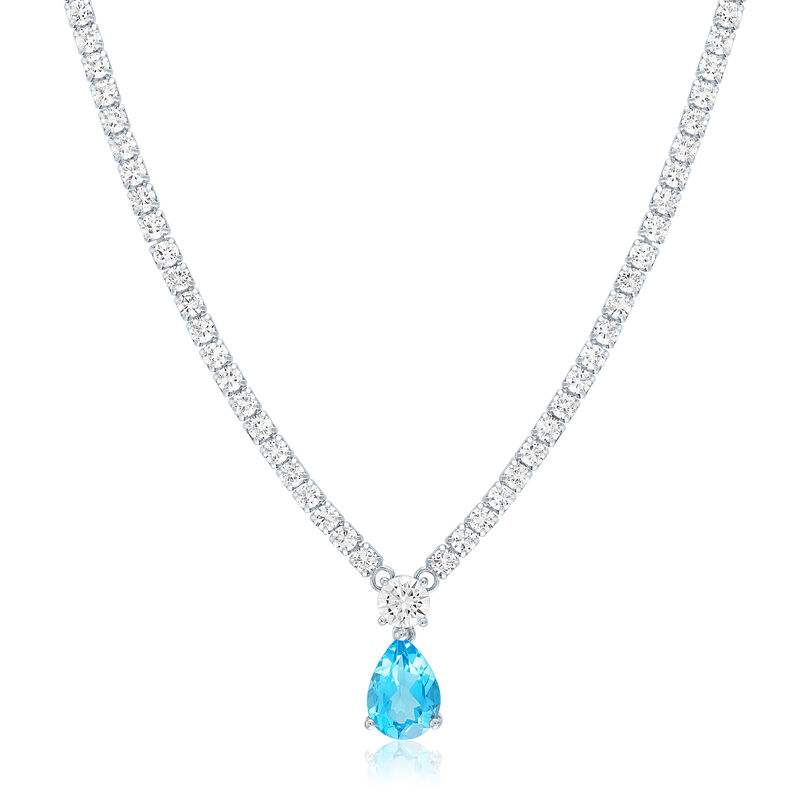
OK, let’s talk about how I made this blue topaz tennis necklace. It was quite a journey, let me tell you!
First, I gathered all the stuff I needed. I got some blue topaz stones, a bunch of jump rings, a clasp, and some chain. Oh, and my trusty tools: pliers, wire cutters, and a bead board. The bead board is super helpful for laying out your design before you start stringing.
Then I got to work on the design. I wanted a simple, classic tennis necklace, so I decided to just alternate the blue topaz stones with the jump rings. I laid everything out on my bead board to get the spacing right. It took a few tries to get it just how I wanted it, but that’s part of the fun, right?
- Grabbed those blue topaz stones.
- Figured out the length I wanted.
- Attached jump rings to each stone. This was a little tricky, had to make sure they were secure.
Once I had the design down, I started attaching the stones to the chain. I opened up each jump ring with my pliers, hooked it onto the chain, and then closed it back up. I repeated this process for each stone, making sure they were evenly spaced. It was a bit tedious, but putting on some music made it more enjoyable.
After all the stones were attached, I added the clasp to the ends of the chain. This was pretty straightforward—just opened up the jump rings on the clasp, attached them to the chain, and closed them up. And voila! The necklace was complete.
Honestly, it turned out pretty great. The blue topaz stones are so sparkly, and the necklace has a nice weight to it. It’s simple but elegant, and I’ve gotten a ton of compliments on it.
Final Steps
- Checked all the jump rings to make sure they were closed tightly.
- Tried on the necklace. Fits perfectly!
- Admired my handiwork. Not bad for a DIY project!
If you’re thinking about making your own jewelry, I say go for it! It’s a lot of fun, and it’s super satisfying to wear something you made yourself. Just be patient, take your time, and don’t be afraid to experiment. Happy crafting!