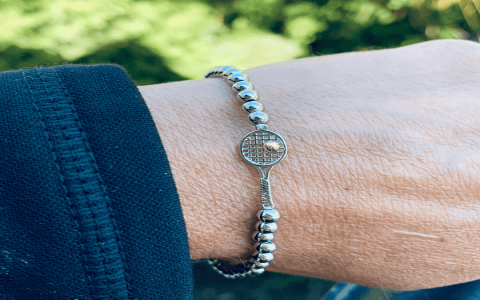
Okay, so, I wanted to make a tennis racquet bracelet. You know, something sporty and cool to wear. Here’s how it went down.
Getting Started
First off, I gathered all the stuff I needed. This was pretty simple.
- Some colorful strings – I picked out green and yellow ’cause they remind me of a tennis ball.
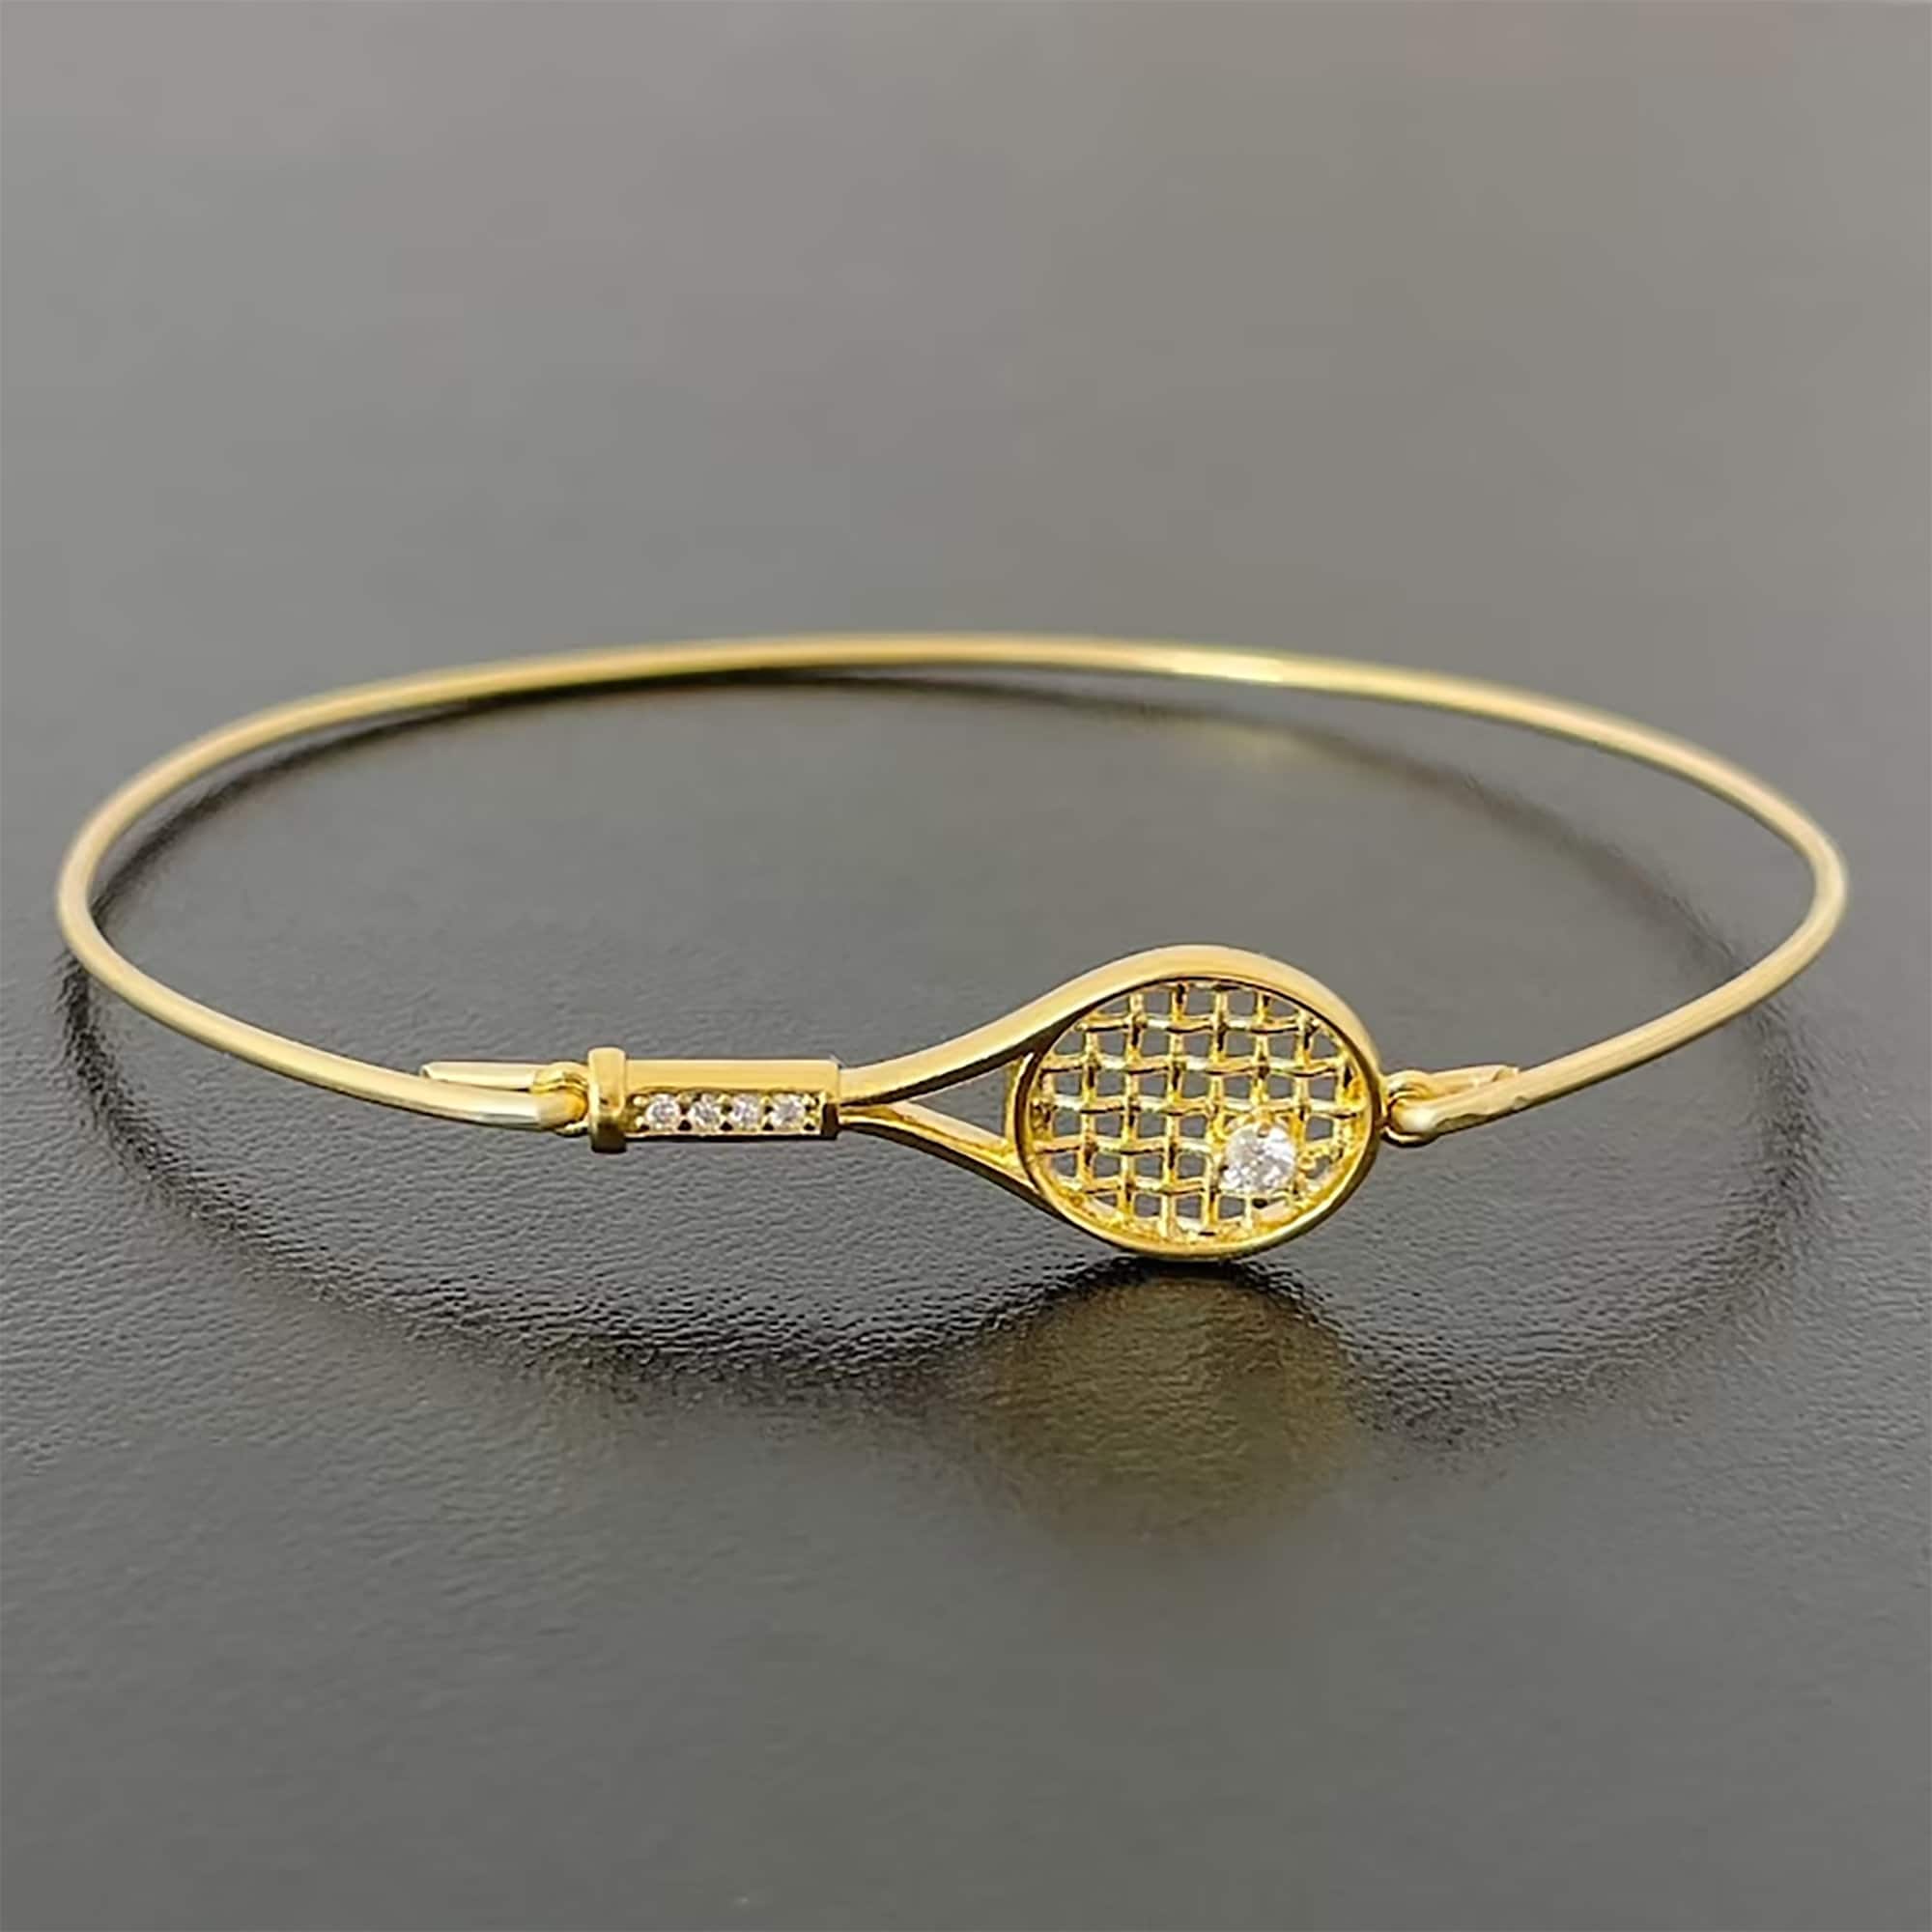
- A small charm that looks like a tennis racquet. I found one online after a bit of searching.
- Scissors – gotta cut the string, right?
- A clasp to, well, clasp the bracelet together.
- A lighter, just to singe the ends of the string so they don’t fray. Be careful with this one.
Making the Bracelet
I started by measuring the string. I wrapped it around my wrist a couple of times to get a good length, then cut it. Better to have too much than too little.
Next, I took the racquet charm and threaded one end of the string through it. I made sure the charm was right in the middle. Then, I tied a knot on each side of the charm to keep it in place.
After that, I started braiding the string. This part was a bit tricky, but I got the hang of it. I just kept braiding until I reached the end of the string. I tried it on a few times to make sure it was the right length.
Once the braiding was done, I tied the clasp to each end of the bracelet. This was the hardest part, to be honest. Those little clasps can be a pain. But I managed it after a few tries. I made sure the knots were really tight.
At the end I used the lighter very carefully to melt the ends of the string next to the knots, this made them tough and stopped them from unraveling.
The Final Touch
Finally, I tried on the finished bracelet. It looked pretty awesome! The green and yellow colors popped, and the racquet charm was a nice touch. It fit perfectly, and I was pretty proud of myself.
So, that’s how I made my tennis racquet bracelet. It was a fun little project, and now I have a cool new accessory to wear. If you’re into tennis or just like making stuff, give it a try!