
Discovering the Project
I spotted this busted-up tennis bracelet at a thrift shop last Tuesday. It was lying in a $5 junk jewelry bin with half its stones missing and the clasp broken. Snatched it immediately cause I’ve always wanted to fix vintage jewelry myself.
Getting My Hands Dirty
First step was yanking out all the remaining diamonds with tiny pliers. They were super tiny and kept slipping! Nearly lost three down the sink drain when washing them. Cleaned each stone with toothpaste and an old toothbrush – took forever but they finally sparkled again.
The Restringing Nightmare
Bought this cheap rethreading kit online. Followed some YouTube video tutorial. Big mistake. The stupid nylon thread kept snapping when I pulled too tight. Had to redo the first four links three times cause the knots kept coming undone. My fingers were numb after two hours!
Replaced those missing diamonds from grandma’s broken earring. Colors didn’t match perfectly but hey – gives it character right? Hammered the clasp flat with my meat tenderizer mallet when the pliers weren’t working. Not professional but got the job done.
The Final Struggle
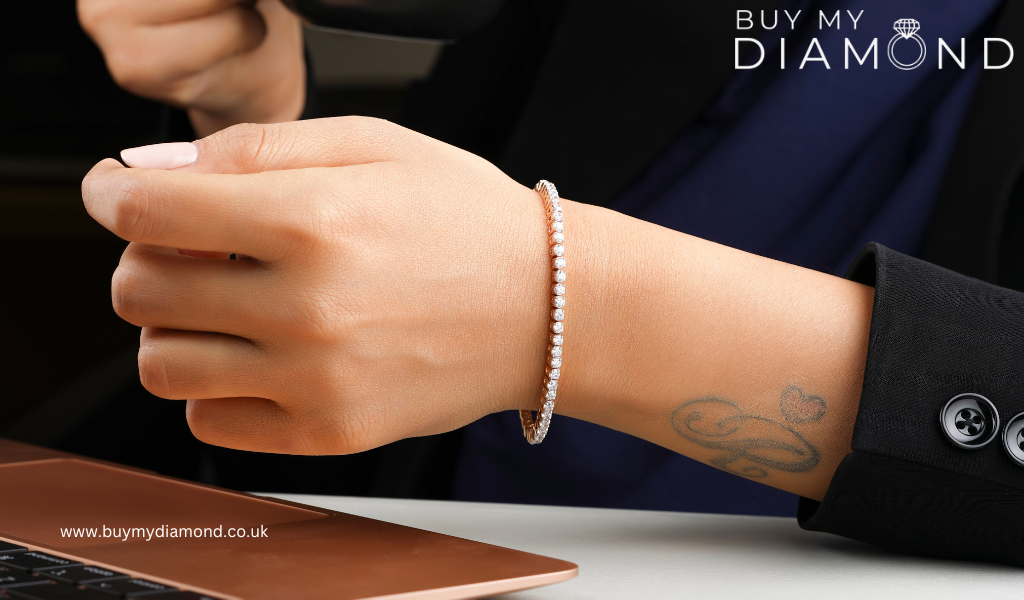
Thought I finished until I tried wearing it. Stones kept flipping upside down! Had to take apart the whole damn thing and double-knot every single link. Took another three hours but finally got it sitting right on my wrist.
Lessons learned:
- Vintage repairs always take 5x longer than you think
- Diamond chips vanish like they’ve got legs
- Cheap tools make everything harder
- Grandma’s junk jewelry saves the day
Total cost was $5 for bracelet + $12 for supplies. Looks way better than those $500 mall versions. Would I do it again? Probably. But next time I’m wearing magnifying glasses!