
Okay, so, I wanted to try something new and a bit different. I’ve got this plain old tennis ball, and I’m thinking, “How cool would it be to have a custom-signed tennis ball?” So, I started this little project.
Getting Started
First, I grabbed a fresh tennis ball. You know, the standard, bright yellow kind. I made sure it was clean, no dirt or anything, because that would mess up the whole process.
The Signing Process
- I picked out a good permanent marker. I went with black because it stands out nicely against the yellow. A fine-tipped one is best for getting those clean lines.
- Next, I practiced my signature a few times on a piece of paper. I didn’t want to mess up on the actual ball, so a bit of practice was key.
- Then, I took a deep breath and carefully signed the tennis ball. It’s a bit tricky because the surface is curved and fuzzy, so you gotta go slow and steady.
- I added a little date underneath, just for fun, so I’d remember when I did this.
Let It Dry!
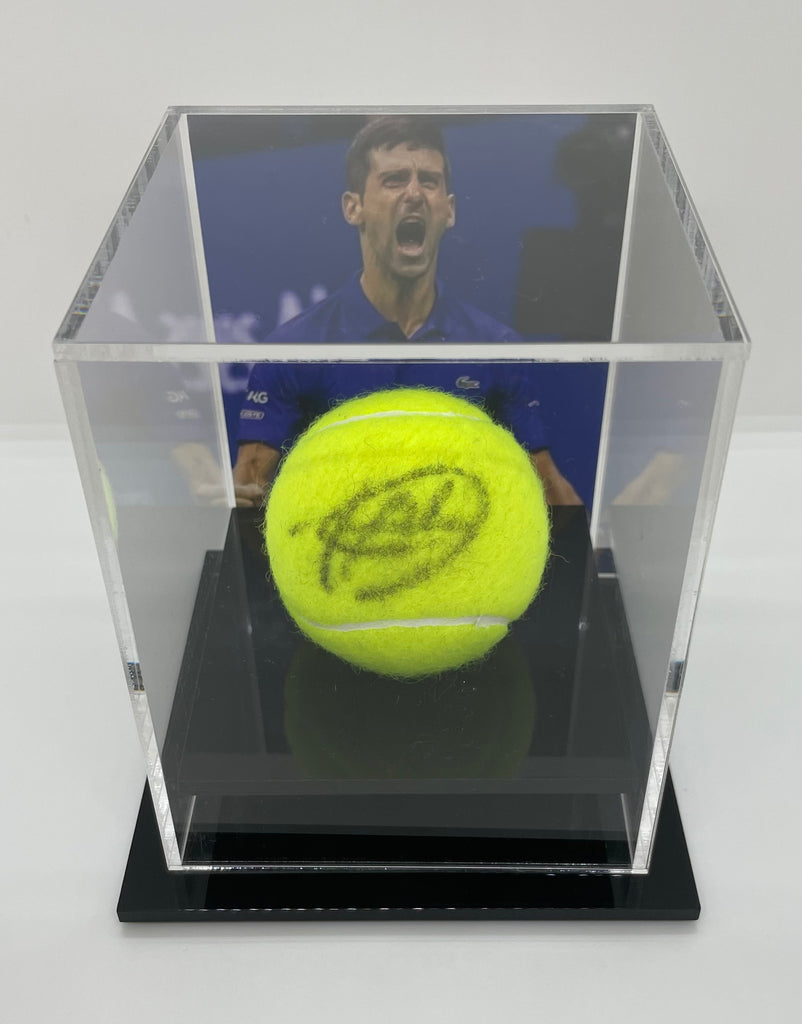
Once the signing was done, the most important part was to let it dry completely. I placed the ball on a small stand, making sure the signed part wasn’t touching anything. Patience is key here, so I gave it a good few hours to make sure the ink was totally set.
Finishing Up
Finally, I checked to make sure the signature was smudge-proof. Success! It looked pretty good, if I do say so myself. Now I have this unique, signed tennis ball – a cool little keepsake or maybe even a quirky display piece.
It was an easy project. I had fun doing this little experiment, and I am glad for the final result.